Spring Cleanup Doesn't Have to Go to the Landfill
You're out there right now, aren't you? Pulling back the matted leaves, finding pine cones the size of your head, discovering what winter buried in your beds. That's not trash—that's the foundation of the best soil amendment money can't actually buy. I've been watching homeowners bag this stuff up for thirty years, and I'll tell you what, it breaks my heart every single time.
This spring is your chance to change that. A compost bin is not some mysterious gardening flex. It's a box—or a pile, or a tumbler—where you throw your garden waste and let nature do what nature's been doing since before humans invented plastic bags. Four months from now, you'll have rich, dark, crumbly compost that'll make your garden weep with joy.
Picking Your Spot: Location Actually Matters
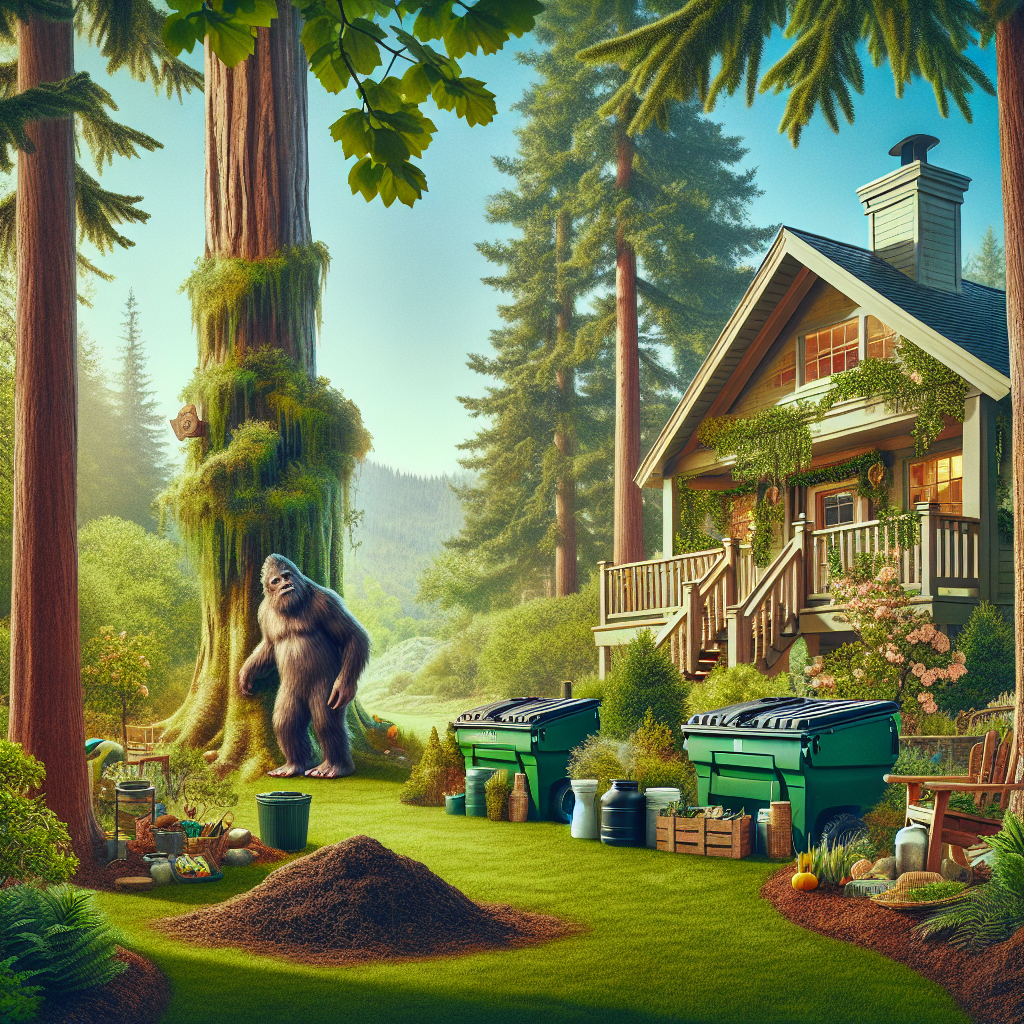
Listen, the first mistake people make is treating compost bin location like it doesn't matter. It does. You're not just finding any corner of your yard—you're choosing the headquarters of your garden's future fertility.
Start with partial sun. Full sun will dry your pile out too fast; deep shade means it'll take twice as long to break down. Morning sun hitting it for four to six hours is the sweet spot. A few summers back I watched a neighbor stick his bin in the darkest part of his yard behind the garage, and two years later he was still saying composting doesn't work. It does—he just put it in a tomb.
Next: access and convenience. If your bin is a hike from the kitchen, you won't use it. You'll forget the coffee grounds and eggshells are there, and they'll end up in the trash instead. Keep it within 30 feet of where you naturally produce kitchen scraps. Your future self will thank you.
Drainage matters too. Don't place your bin in a low spot that pools water. Soggy compost turns into anaerobic soup—smells like a swamp, invites every fruit fly in the county, and takes forever to mature. Slight slope is fine. Flat is better than a depression.
Building Your First DIY Compost Bin—Three Real Options
Now here's the thing: you don't need to buy a fancy bin to make this work. Most garden centers will point you toward those $300 tumblers with the ergonomic handles and the German engineering—and look, they work fine, but you're mostly paying for convenience. For spring setup, you've got three solid paths forward.
Option 1: The Pallet Box (Free to $40)
Find four untreated wooden pallets. They're everywhere—behind warehouses, on Craigslist, sometimes just sitting there waiting for someone to ask. Untreated is critical; you don't want pressure-treated wood breaking down into your soil. Attach them with galvanized bolts or heavy-duty zip ties to form a square box, maybe 4 feet by 4 feet. Leave one side loose or on hinges so you can pull finished compost out the bottom. That's it. Cost: basically nothing. Lifespan: about five years before the wood starts serious decay.
Option 2: The Bin Kit (Around $80–$150)
Companies like Algreen and Good Ideas make stackable bin systems that show up in a box, slot together without tools, and give you a legit 3-foot-cube container. Not glamorous. Functional as hell. Lasts about eight to ten years. Good choice if you want something that won't confuse you during assembly.
Option 3: The Open Pile (Free)
This is what I do. No bin at all—just a defined area maybe 3 feet in diameter, contained loosely with stakes or a circle of wire fencing. Pile your materials there. It's less tidy, but it works beautifully if you're managing it right, and it lets you scale up easily if you generate more compost material than you expected.
Hot Composting vs. Cold Composting: What's the Difference, and Why Spring Matters
You've probably heard these terms thrown around. Let me clarify what you're actually choosing.
Hot composting is the fast track. You're actively managing a pile—layering greens (nitrogen-rich: grass clippings, food scraps, fresh plant material) with browns (carbon-rich: leaves, shredded paper, straw) in a ratio of about 3 parts brown to 1 part green. You turn it regularly, maybe once a week. The pile heats up to 130–150°F as microorganisms work furiously, and you can have finished compost in 4 to 6 weeks. Spring is the perfect time to start hot composting because you've got fresh green material flowing in and warm temperatures coming.
Cold composting is the lazy person's system. Throw stuff in. Don't turn it. Let it sit for 6 to 12 months while decomposition happens slowly. It's less work but takes longer. Both methods work; hot composting just suits spring startup better.
I lean toward hot composting this time of year because spring cleanup gives you a massive one-time load of material to work with. You've got the browns (leaves, dead stems, garden cleanup debris) and you'll generate greens (grass clippings, kitchen waste) continuously. That balance is gold.
Best Materials for Spring Composting: Start Your Pile Right
Your pile is a recipe. You need the right ingredients in the right proportions.
- Browns: Last year's leaves (bag them now before they blow away), shredded paper or cardboard (no glossy or printed stuff), straw, wood chips, pine needles, dead perennials.
- Greens: Grass clippings (only from untreated lawns), vegetable scraps, fruit waste, coffee grounds with filters, eggshells, fresh plant trimmings.
- What to skip: Meat, dairy, oils, diseased plant material, grass that's been treated with herbicides, black walnut leaves (they're toxic to many plants), and anything glossy or printed.
Spring specifically hands you a gift: all those winter leaves still piled up. Use them. A 50-pound bag of bagged oak leaves from a neighbor who doesn't want them is free compost-starting material. I've literally knocked on doors in March and asked. People think you're crazy until you explain, then they're relieved to help.
Layer Your Pile and Manage the Moisture
Start with a 4-inch layer of coarse brown material on the bottom—this gives air flow underneath. Then alternate: 4 inches of brown, 1 inch of green, 4 inches of brown, 1 inch of green. That 4-to-1 ratio matters because you need enough carbon to balance the nitrogen, or you'll get smell and fungus gnats.
Moisture should feel like a wrung-out sponge. Not dripping. Not dusty. You'll adjust this as you go; if it smells like rotten gym socks, it's too wet—add more browns and turn it. If it's not heating up and decomposing in a couple weeks, it's too dry—mist it lightly.
Turn your pile every 7 to 10 days if you're doing hot composting. Move material from the outer edges to the hot center. This accelerates decomposition and prevents odor buildup. You don't need fancy equipment—a garden fork works perfectly fine, even for someone with disproportionately large hands.
The Smell and Pest Problem—Solved Before It Starts
Folks worry about this more than they should, but valid concerns. Bad smell means anaerobic conditions—too much green, too much moisture, not enough turning. Pests show up when there's exposed meat or dairy. Both are preventable.
Bury your kitchen scraps 6 to 8 inches deep in the pile instead of leaving them on top. Keep a 2-inch layer of brown material on the surface at all times—it acts as a barrier. This one habit eliminates about 80 percent of pest and smell problems right there. I'm not exaggerating.
Rats and raccoons are smarter than people give them credit for. They know what's inside. If your bin is just open piled material, they'll find it. Use a bin with a lid, or secure heavy wire mesh underneath and around the base. Spring is when they're actively hungry post-winter, so this is not the time to be loose about it.
If you've already got a smell issue, turn the pile immediately and add browns. The smell will disappear within 48 hours. It's not permanent; you just need to rebalance.
Your First Compost Batch: Expect Results in 4 to 8 Weeks
If you're hot composting and starting now in March, you should see dark, crumbly, finished compost by late May or June. You'll know it's ready when it looks like rich soil, smells earthy (good earthy, not rotting earthy), and you can't identify the original materials anymore.
Don't wait for it to be perfect. Use it when it's 80 percent there. Any unfinished pieces will continue breaking down in your garden beds anyway, and your soil will improve regardless. I see people waiting for magazine-cover-quality compost and missing an entire growing season. Usable beats perfect.
Once you've got one batch going, you can add new material on top and let the bottom finish while the top layer breaks down. Your bin becomes a continuous operation instead of a project. That's the moment it stops being work and becomes just... what you do.
Build your bin this weekend. Get your material layered by next week. By the time your tomatoes are ready to plant, you'll have amendments that'll make them incredible. That's worth a few hours of weekend effort, I promise you.