Spring Irrigation System Installation: Cut Your Water Use in Half (And Your Bills Too)
Most folks are still standing out there with a hose in one hand and their water bill in the other, wondering where it all went wrong. I'll tell you what—spring is the perfect time to fix that, because you're still ahead of the heat and your landscape isn't yet screaming for water. The difference between a thoughtless irrigation setup and a modern, efficient one isn't just environmental virtue signaling. It's real money. Real water. Real peace of mind when July rolls around.
Back in my neck of the woods, I watched a neighbor spend three weekends last summer hand-watering because his old pop-up sprinklers were dumping water on the driveway and the sidewalk. Meanwhile, his plants were stressed. He was exhausted. His water bill looked like a car payment. That's not how this has to go. A proper spring irrigation setup with drip irrigation installation and smart controllers can cut your water use by 50 percent. More important: it actually works better.
Why Spring Is Your Window
You've got a narrow window right now. Soil is moist from winter rain or snowmelt. The ground isn't yet baked hard. Your plants are waking up—not yet in peak demand mode. This is when installation is easiest and least disruptive. You lay it all down now, test it out, dial it in, and by the time heat hits you're not scrambling.
Listen, if you wait until June and your lawn turns brown, you'll be digging trenches in compacted earth. You'll be installing under stress. You'll make decisions you regret. Spring gives you time to think and work methodically.
The Case for Water-Efficient Landscaping Starts Underground
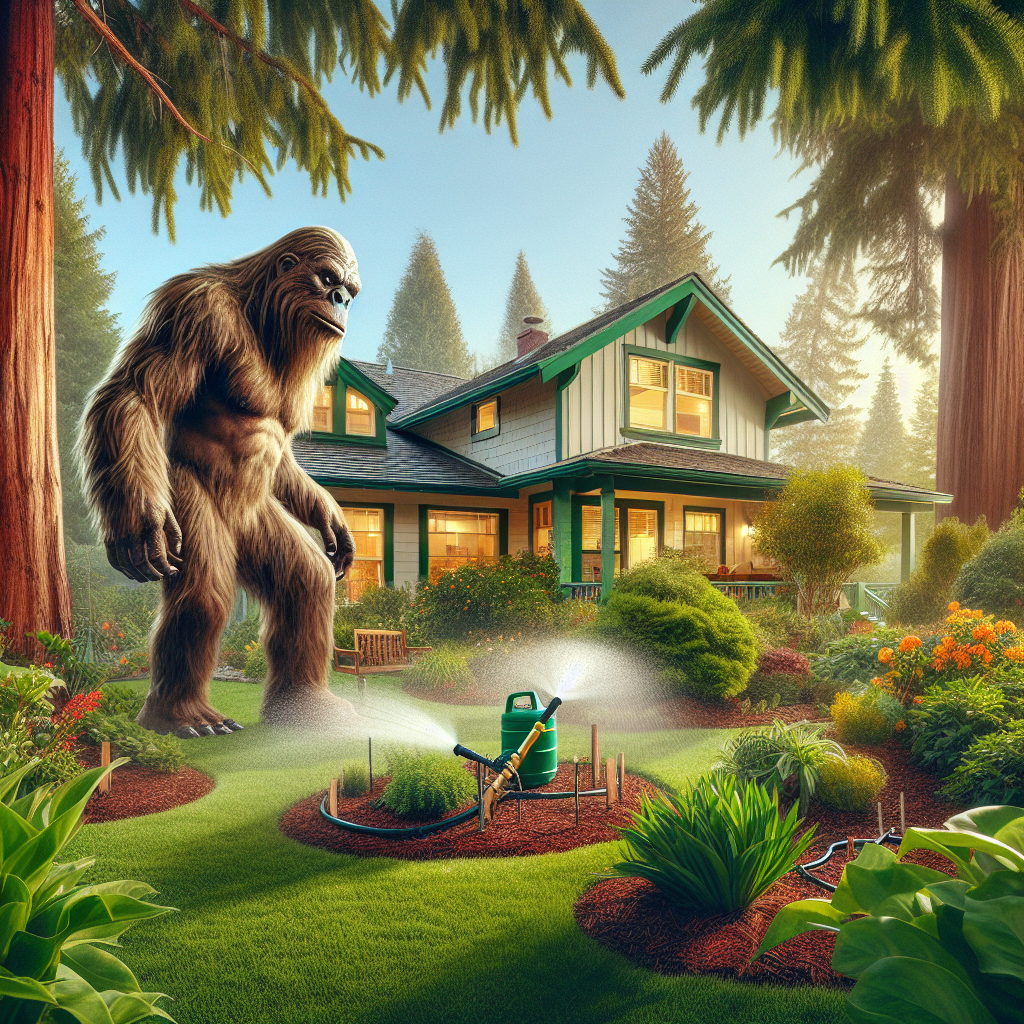
Before you buy a single piece of equipment, understand this: the real win in water-efficient landscaping isn't the hardware. It's the strategy. Most garden centers will push you toward fancy smart controllers—and look, they're useful, but you're partly paying for the brand name. The actual backbone of cutting water waste is drip irrigation. That's where the math changes.
Drip irrigation delivers water slowly, directly to the soil at the plant's root zone. Not to the air. Not to pavement. Not to places that don't need it. A traditional sprinkler head throws water maybe 15 to 25 feet in every direction—50 percent of that lands exactly where you don't want it. A drip line soaks into the ground within inches of where you place it.
Step One: Map Your Yard and Assess Zones
Get a piece of paper or use your phone's camera and walk your property. Mark out which areas need regular water and which don't. Your lawn? Year-round thirst. Your mature oak trees? Barely need supplemental water. That bed of native camas and Oregon grape? Drought-resistant once established. These are your zones.
Water needs vary wildly by plant type and sun exposure. A south-facing slope in full sun will dry out twice as fast as a north-facing bed with afternoon shade. If you try to water everything the same, you'll either drown half your plants or stress the other half. Zoning is non-negotiable.
- Full-sun lawn areas: Drip irrigation or soaker hoses on a controller
- Shrub and perennial beds: Drip lines, spaced wider
- Established trees: Deep soaking 1–2 times per month, minimal zones
- Native/drought-resistant plants: Minimal to seasonal zones only
Installing Drip Irrigation Installation: The Backbone
Now here's the thing—drip irrigation looks complicated until you actually do it. Then you realize it's basically plumbing for people who aren't plumbers. You're just connecting hoses and laying out lines.
Start with your water source. Most people run from a spigot. You'll need a backflow preventer (check local code; many require it), a timer, and a filter. The filter is critical. Debris clogs drip emitters faster than you'd believe. A 100-mesh filter from any irrigation supply house costs $15–$25 and saves you from clogging headaches. Buy it.
From there, run your main line—typically half-inch drip tubing like Raindrip brand, which runs about $0.50–$0.75 per foot—along the edge of your beds or under mulch. Bury it an inch or two. It'll last longer and won't look like spaghetti strewn across your yard. At intervals, you'll run quarter-inch drip lines or soaker hoses into planting areas. The emitters on these lines drip 0.5 to 2 gallons per hour, depending on your spacing and plant needs.
For beds of shrubs or perennials, space emitters 18 to 24 inches apart. For vegetables or thirsty annuals, go closer—12 to 18 inches. For lawns, you're better off with soaker hoses laid in a grid pattern, 12 inches apart. A soaker hose is basically a porous tube that seeps water along its entire length. For a 300-square-foot lawn area, you'll need maybe 150–200 feet of soaker hose. Lay it back and forth in tight loops, secure it with landscape staples, and cover it with mulch or just let it sit. It works either way.
The whole installation for a quarter-acre property with mixed beds and lawn typically takes a weekend. You're not digging trenches like an archaeologist. You're laying hose.
Adding Smart Sprinkler Systems to the Mix
A controller—one of the newer smart sprinkler systems—is where convenience meets conservation. You're not going to stand outside with a hose checking soil moisture. A smart controller does that for you, using weather data, soil sensors, or both.
The basic setup: a battery-powered timer ($40–$80) connected to your spigot controls when water flows. But the smarter versions—Rachio, Hunter Hydrawise, or Orbit—actually adjust watering based on rainfall, temperature, and humidity. If it rained yesterday, the system knows. It won't water today. If it's 45 degrees and cool, plants need less. The controller dials it down.
These systems cost $100–$300 installed, and they'll knock 20–30 percent off your water use just through intelligent scheduling. Pair that with drip irrigation (which already cuts water by another 25–30 percent) and you're easily at 50 percent total reduction. The ROI is straightforward: if your water bill is $100 per month in summer, you're saving $50. That's $600 a year. The system pays for itself in one year.
The Numbers Actually Check Out
Let's be concrete. Say your household water bill jumps $100 per month during watering season—May through September, five months. That's $500 you're spending on landscape water. Cut that in half with a proper setup, and you're banking $250 per season.
Material costs for a moderate property:
- Drip line, emitters, fittings: $150–$300
- Soaker hose for lawn zones: $50–$100
- Smart controller: $100–$250
- Backflow preventer and filter: $40–$70
- Miscellaneous (stakes, connectors, mulch): $50–$100
Total: roughly $400–$800 for a complete system. At $250 saved per year, you break even in two to three years. After that, it's pure savings. Plus, your plants are healthier because they're getting consistent, appropriate water. Your landscape looks better. You're not wasting resources. That math is hard to argue with.
Choosing Drought-Resistant Lawn Watering Strategy
Here's where opinion enters the room. A lot of folks think drought-resistant means let your grass turn brown. That's not it. Drought-resistant watering means being efficient, not negligent. You can keep your lawn green with half the water if you water the right way.
Water deeply and infrequently. Most lawns need one good soaking per week in the growing season, not five light sprinkles. Deep watering encourages deeper root systems, which make the grass more resilient. Shallow, frequent watering encourages shallow roots—the grass gets stressed faster. Soaker hoses on a timer handle this perfectly. Set the controller for one long session early in the morning (6–8 a.m., not evening) and let it soak. The soil absorbs it. The grass thrives. Done.
For truly drought-resistant results, consider replacing part of your lawn with native groundcovers or shrubs. But that's a bigger conversation for a different day. Right now, if you're keeping the lawn, water it the right way.
Testing and Dialing In
After installation, don't just set it and forget it. Run the system manually for 30 minutes and walk around. Are all the emitters dripping? Is water pooling anywhere? Are you missing areas? Adjust before you automate. Clogged emitters? Replace them—they're $0.25 each. Pressure too high? Add a pressure regulator ($10). Pressure too low? You may need a larger line from the spigot.
Once everything flows right, program the controller. Start conservative—less water than you think you need. Lawns are pretty forgiving. You'll dial it up if needed. Most people overwater out of habit and anxiety. Resist that.
Come back in a month and adjust based on what you see. This isn't a set-and-forget system. It's a living tool you're refining. That refinement is where you actually get to 50 percent water savings. The hardware doesn't do it alone—your attention does.
You've spent a spring afternoon installing this, maybe $500–$800 out of pocket, and you're going to save money and water for the next decade. Your landscape will be healthier. Your conscience will be clearer. And when someone asks how you kept your yard looking sharp during the dry months, you can tell them the honest answer: because you stopped wasting water and started paying attention. That's it. That's the whole trick.