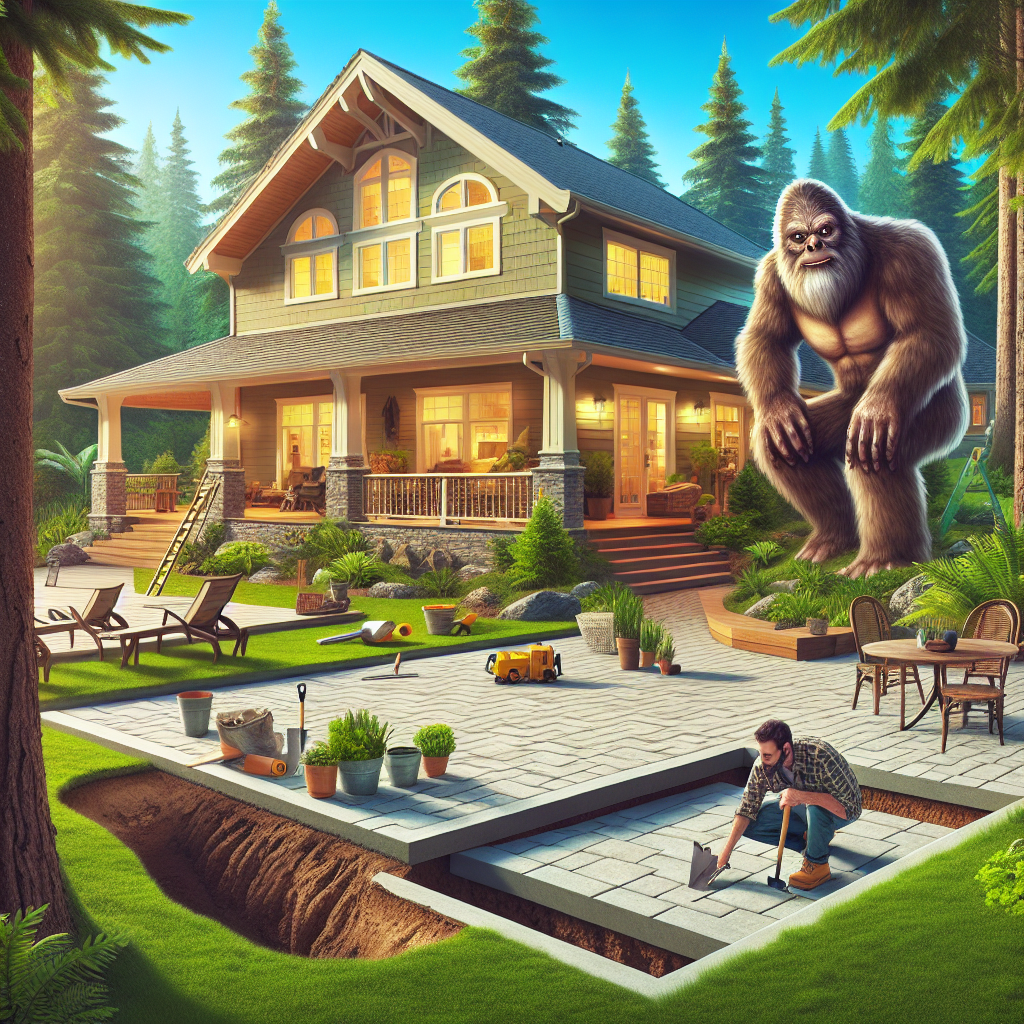
Your Patio Took a Hit This Winter—Here's What Actually Happened
That dip near your sliding door, the way your pavers shifted, the puddle that now pools in a spot that used to be flat—I've watched this exact thing happen to at least six neighbors since January. Winter frost heave doesn't ask permission before it rearranges your outdoor entertaining spaces. Ground freezes, expands, thaws, and suddenly your carefully laid concrete or pavers are sitting at weird angles like a drunk poker table.
Now here's the thing: you've probably got about six weeks to get this fixed before May rolls around and you want to host people for dinner. That's plenty of time. It's also enough time to make a decision about whether you're doing this yourself or calling someone who knows what they're doing.
Why Spring Is When You Notice the Damage
Frost heave happens below the surface all winter long. Water in the soil freezes, expands, pushes up. Your patio rides along on top of it like a passenger on a tiny invisible elevator. Come March, the ground thaws unevenly—some spots settle faster than others. That's when the visible damage shows up.
Listen, I've lived in these Pacific Northwest forests long enough to know that spring cleanup isn't just about raking leaves. It's about seeing what winter actually cost you. A sunken patio repair often gets put off because people think it'll be complicated or expensive. Most of the time, it's neither. You just have to know which problems you can handle and which ones need a professional.
The Two Categories of Patio Settling
Before you grab a shovel or your phone, figure out what you're actually dealing with:
- Minor settling (under 1/2 inch difference): This is usually cosmetic and safe. Your entertaining won't suffer. Your guests won't trip.
- Major displacement (1/2 inch to 2 inches or more): Now you've got a real problem. Water pools. People catch their feet. Structural issues can follow if you ignore it long enough.
Go grab a 2-foot level and check your patio. Place it across the sunken spots. If water would actually roll toward that low point when you pour it, you need to fix it. Not eventually. Soon.
The DIY Route: Concrete Leveling You Can Do Yourself
I'll tell you what—if your sunken patio is concrete and the drop is less than an inch, you've got options that won't drain your wallet or take all your weekends.
Mudjacking (also called slab jacking)
This is the homeowner-friendly version. You drill holes in your concrete—we're talking 1.5-inch diameter holes, spaced about 3 feet apart—and pump a slurry mixture underneath to lift the slab. The slurry is usually limestone, clay, water, and sometimes a little fly ash. It's old-school and it works.
A few summers back I watched a neighbor spend three weekends renting a mudjacking pump from Home Depot (around $80 per day) and mixing his own slurry. He lifted a 200-square-foot sunken patio section from 1.25 inches below level back to flat. Total cost: maybe $400 including materials. It held for years. No regrets.
You'll need:
- A concrete saw (rented, $30–$50 per day) to make your drill points
- A mudjacking pump setup (rental: $60–$90 per day)
- Slurry material (pre-mixed bags or custom mix: $150–$250)
- A level and some patience
Timeline: One weekend if you move steady. Three days if you're careful and don't rush the curing.
Polyurethane Foam Injection
Newer, cleaner, lighter than mudjacking. You inject expanding foam under the slab through smaller holes (about 5/8 inch). The foam expands, lifts your concrete, and cures in hours instead of days. Most garden centers will point you toward traditional mudjacking first—and look, it works fine, but you're mostly paying for the name at that point. Polyurethane is actually faster and leaves less of a mess.
The catch: foam injection equipment costs more to rent or hire out. If you're doing it yourself, you're looking at a specialized pump and training. For most homeowners, this is a "call a pro" situation.
Self-Leveling Overlay
For minor settling, a concrete overlay is honest work. You clean the old slab, apply a primer, then pour a self-leveling concrete topping (usually 2–4 inches) over the sunken area. Brands like Quikrete Self-Leveling Floor Resurfacer or Sakrete Level-Set come in 50-pound bags and cost $25–$40 per bag.
You'll need about 1 bag per 25 square feet for a 1-inch overlay. Mix it, pour it, let gravity do the work. It self-levels. Cures in 24–48 hours.
Cost for a 100-square-foot sunken patio section: $150–$200 in materials, your labor, maybe a weekend.
When to Call a Professional (and What It'll Cost)
Now, if your sunken patio repair involves more than a couple hundred square feet, or if the settling is severe (more than 2 inches), or if you've got pavers instead of solid concrete, a professional crew makes sense.
Professional mudjacking runs $3–$12 per square foot depending on region and complexity. A 300-square-foot patio: $900–$3,600. They come with insurance, guarantees, and they know how to spot drainage problems before they wreck everything again.
Polyurethane foam injection through a licensed contractor costs more upfront ($8–$15 per square foot) but lasts longer and requires less ongoing maintenance. Same 300-square-foot patio: $2,400–$4,500.
Complete patio replacement (because some damage just can't be fixed): $15–$25 per square foot installed. Now we're talking $4,500–$7,500 for that same patio. This is the nuclear option, but sometimes it's the right call.
Paver Settling Solutions (The Trickier Situation)
Folks with pavers sometimes have it harder. If your pavers are sinking unevenly, mudjacking the base won't help much. You're usually looking at selective paver replacement or re-bedding.
The process: Remove the affected pavers (2–4 inches deep, usually), add or adjust the base layer (polymeric sand or stone dust), reset the pavers, and compact everything. It's labor-intensive but doable for a small area.
Cost: $8–$15 per square foot if you hire it out. For a 50-square-foot sunken section, you're looking at $400–$750.
If you're doing it yourself, you need a plate compactor (rent one for $40–$60 per day), a level, and patience. A small sunken paver area—say, 20 square feet—takes a full day's work.
Your Timeline to an Entertaining-Ready Patio
You want this done by May. Here's what's realistic:
- Week 1–2 (now): Assess damage, get quotes if hiring professionals, rent equipment if going DIY
- Week 2–3: Do the work (mudjacking, overlay, or paver reset)
- Week 3–4: Cure and settle. Most concrete work needs 48 hours minimum, 7 days for full strength
- Week 5–6: Seal if necessary, clean up, arrange furniture
You've got buffer time. Don't waste it. If you wait until April, you're competing with every other homeowner in your region and crews book up fast.
The Prevention Angle (For Next Year)
Once your patio's level again, address drainage. Water sitting under or around your patio is what causes frost heave in the first place. Make sure gutters direct water away. Grade your yard so rain runs off, not under your entertaining space. A small French drain or a slope of at least 1 inch per 8 feet of distance keeps groundwater from pooling.
Frost heave happens again next winter—that's just how it works out here. But if you manage water, you'll reduce how much damage shows up in March.
Your patio's going to be fine. Pick a method, stick to your timeline, and you'll be hosting people outside before you know it. Just keep an eye on that level and don't ignore the small dips. They always get bigger.