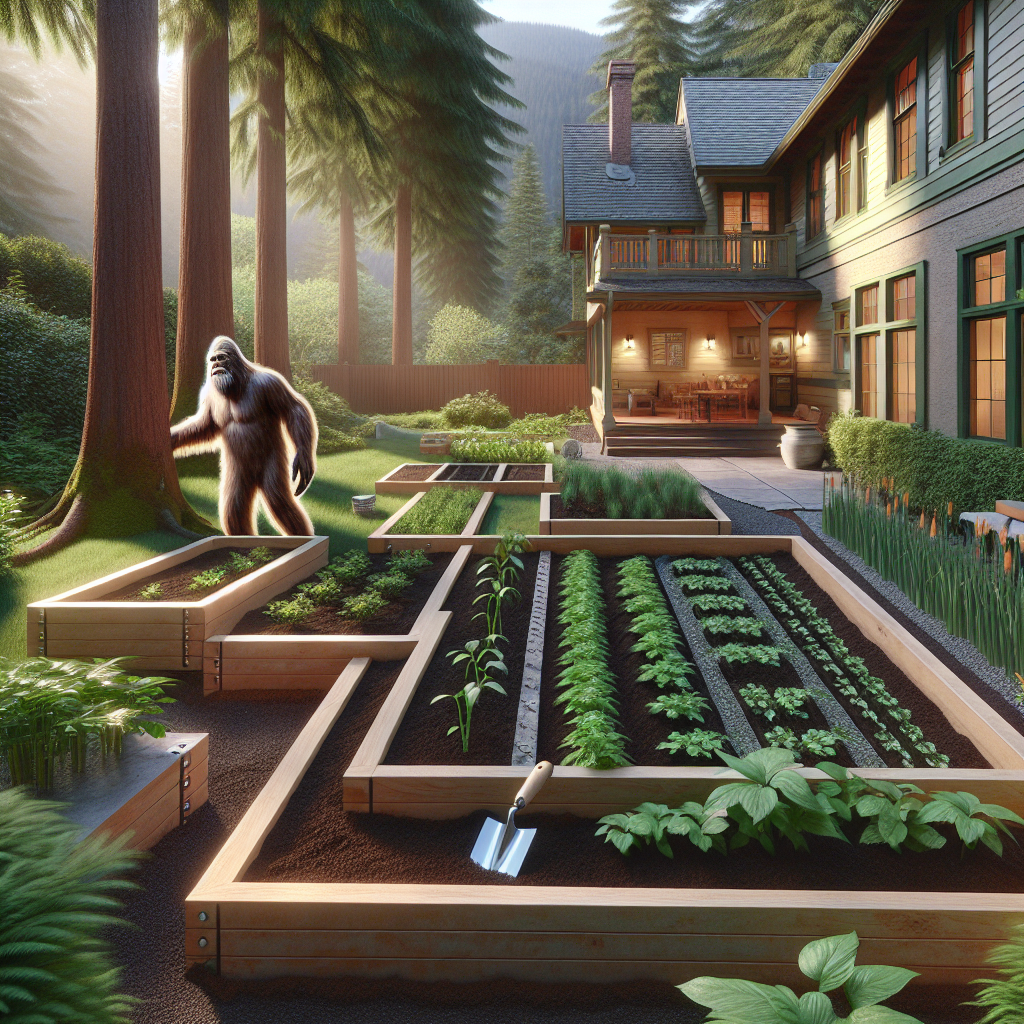
Spring Raised Garden Beds: Build Them Right the First Time
You're standing in your yard on a Saturday in March, finally ready to stop talking about growing your own tomatoes and actually dig in. I get it. I've watched a lot of humans do exactly this — and I've also watched half of them rebuild the same bed two years later because the wood collapsed or the soil turned into a swamp. Listen, it doesn't have to be that way.
The difference between a raised garden bed that lasts twenty years and one that becomes a soggy mess by summer boils down to three things: what you build it with, what you fill it with, and how you manage water moving through it. Get those right in spring, and you won't be thinking about this again until fall. Get them wrong, and you'll be pulling out rotted boards while your plants gasp for air.
The Material Question: What Actually Holds Up
I'll tell you what — every gardener has an opinion here, and most of them are based on what they spent money on last time. Let's talk facts instead of feelings.
Untreated wood (cedar, redwood): It's attractive. It smells good. It costs between $150 and $300 for a 4x8x12 bed. And it'll last you about eight to ten years before the bottom starts to go soft. Cedar holds up better than pine, but even cedar eventually loses the argument with moisture and soil microbes. A few summers back I watched a neighbor spend three weekends building beautiful raised beds from cedar, only to have the corners collapse by year seven. He was shocked. I wasn't.
Pressure-treated wood: Most garden centers will point you toward this — and look, it works fine, but you're mostly paying for the name and the chemical process. Treated wood costs $120 to $250 per bed and lasts twelve to fifteen years. The arsenic concerns from the 1990s are genuinely gone, but treated wood still feels like a compromise.
Composite raised beds: This is where I watch people balk at the sticker price and then regret it. Composite (wood fibers bound with plastic) runs $400 to $600 per bed, sometimes more. But here's the thing — it doesn't rot, doesn't splinter, needs no maintenance, and will still be structurally sound thirty years from now. The math looks ugly upfront. Over time, it's the cheapest option by a country mile.
Metal (steel or aluminum): Galvanized steel beds sit around $250 to $400 and last indefinitely if you're not digging into them with a shovel every spring. Aluminum is lighter, more expensive ($350 to $500), and honestly more than most people need. Rust isn't really the problem — denting is — but a dented bed still works fine.
Soil Mix: The Recipe That Actually Works
Now here's the thing — you cannot just fill a raised bed with dirt from your yard and expect vegetables to thrive. That's like me trying to fit into a human shed. It technically might go in, but nothing good happens next.
The gold standard is the "Mel's Mix" from the Square Foot Gardening method, and I'm not married to it, but I use it because it works. For every cubic foot of bed space, you want:
- 1/3 compost (aged, dark, crumbly — not fresh mulch)
- 1/3 peat moss or coconut coir (I lean coir now, easier on wetlands)
- 1/3 coarse vermiculite
A standard 4x8x12-inch bed holds 32 cubic feet. So you need roughly 11 cubic feet of each ingredient. That shakes out to:
- About four bags (2.5 cubic feet each) of quality compost ($40 to $60 total)
- Four to five bags of coir or peat ($25 to $35 total)
- Three bags (3.5 cubic feet) of coarse vermiculite ($35 to $45 total)
Budget roughly $110 to $150 in soil materials. Most folks expect it to be cheaper. Most folks end up with compacted, clay-heavy beds that drain like concrete.
If you want to get fancy — and you should, back in my neck of the woods folks used to add a slow-release granular fertilizer like Osmocote (a 50-pound bag runs about $40) mixed into the bottom third. You won't need to feed for two months. That's worth doing once in spring.
Drainage: The Part Nobody Talks About Until It's Too Late
Raised beds don't automatically drain well just because they're raised. Water pooling in soil is how you kill tomatoes and invite root rot. You need to physically set up your bed to move water down and out.
Start with the base. Wood beds should sit directly on soil (not concrete), and you should line the bottom with landscape fabric — not plastic, fabric. Plastic traps water. Fabric lets it through. Staple it to the inside walls about 4 inches up so it doesn't dam things up. Composite and metal beds don't need this step; the material itself resists water.
Now, the floor treatment. Lay down 2 to 3 inches of gravel or broken pottery shards on the bottom, on top of the fabric. This creates an air gap. Water drains through soil into this space, finds the lowest point, and moves sideways out of the bed. Without it, water just sits where roots are living.
On top of the gravel, layer in your soil mix. The drainage for raised beds works because gravity pulls water down through the amended soil, hits the gravel, and the path of least resistance takes it out the sides and bottom of the bed. That's the whole system. Simple, and it actually works.
Assembly: Don't Make It Harder Than It Is
You need a level spot. Slightly raised ground is fine (that's the whole point). Boggy ground is not fine — move your bed somewhere else. Use a 2-foot level and a rubber mallet. Spend ten minutes on this. It matters.
Corners need reinforcement. For wood beds, use 12-inch L-brackets on the inside at each corner — they run $5 to $8 each at any hardware store. For composite, most come pre-drilled and clip together. For metal, they usually come assembled.
Soil will settle over the first month. Don't overfill. Fill it to about 2 inches below the rim, then water it in. By late April, you'll be adding another 2 inches because things have compacted.
The Cost Reality
Let's be honest about the full picture. A single 4x8x12 bed, built to last, breaks down like this:
- Composite frame: $500
- Soil and amendments: $140
- Landscape fabric and gravel: $20
- Total: $660
Or, with treated wood:
- Treated wood and hardware: $180
- Soil and amendments: $140
- Landscape fabric and gravel: $20
- Total: $340
The treated wood bed costs half as much today. But you'll rebuild it by year twelve. The composite bed costs more, and you won't think about it again. That's not a bug. That's a feature.
Spring is the right time to build because your soil won't freeze between layers, you can water it in to settle before planting, and you'll have the whole season to watch it and make adjustments. Do it right now, and by July you'll be too busy picking vegetables to second-guess yourself.